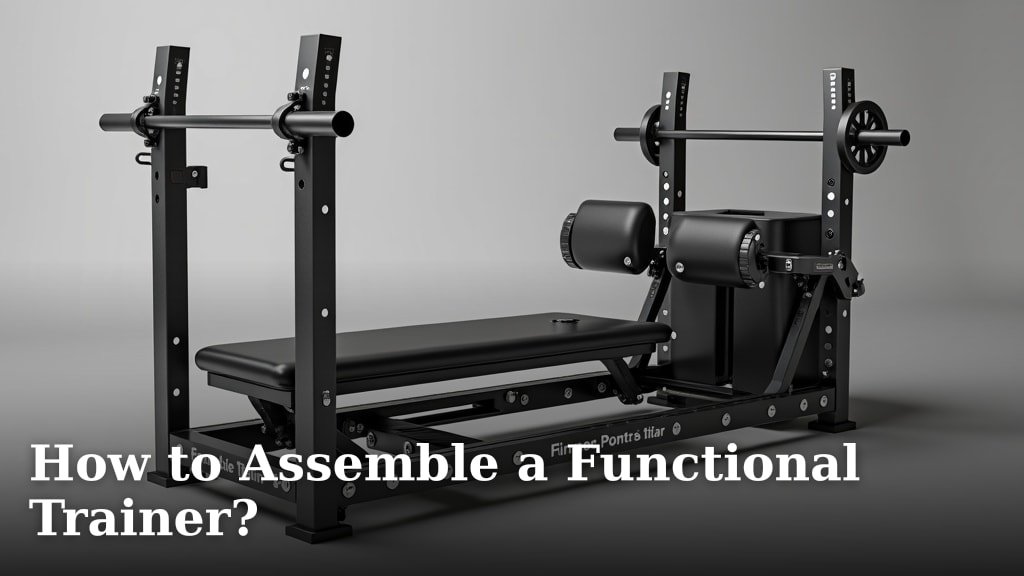
To assemble a functional trainer, you will need to follow the manufacturer’s instructions carefully, typically involving attaching the base, uprights, and pulleys, then securing all components for safe use. We found that most trainers require basic hand tools and a few hours of your time to set up correctly.
Getting your new home gym equipment ready can feel a bit overwhelming, right? But don’t worry. We’ve researched and found that with a clear guide, assembling a functional trainer is a manageable DIY project. You’ll soon be enjoying a full-body workout without leaving home, and that’s pretty awesome.
TL;DR:
- Gather your tools and parts first.
- Start with the base and uprights.
- Attach the cable system and pulleys.
- Tighten all bolts securely.
- Test for smooth operation.
Let’s walk through exactly how to assemble your functional trainer, step by step, so you can start pumping iron safely and effectively.
Setting Up Your Functional Trainer
Assembling a functional trainer yourself is a rewarding project. We found that most people can complete this task with common household tools and a bit of patience. Your new trainer offers a gym-worthy workout right at home.
Pre-Assembly Checklist: First Things First
Before you even open the box, a little preparation goes a long way. This initial step can save you frustration and time later. Think of it as your warm-up before the main event.
Unbox and Organize Your Components
The very first thing you need to do is carefully unbox everything. Lay out all the pieces on a clean, open space. We found that using a blanket or moving pads can protect your flooring and the equipment parts.
- Verify all parts against the packing list in your manual.
- Separate hardware by type (bolts, washers, nuts) into small containers.
- Look for any shipping damage immediately.
- Keep the instruction manual handy and open to the first page.
It’s like sorting puzzle pieces before you start building. This step makes the rest of the process much smoother.
Gather Your Necessary Tools
Most functional trainers don’t require highly specialized tools. However, having the right ones ready makes a big difference. We found that most manufacturers suggest a similar set of basic hand tools.
- Adjustable wrench or a set of metric wrenches
- Allen wrench set (often included)
- Phillips head screwdriver
- Rubber mallet (optional, but helpful for gentle tapping)
- Tape measure (for checking dimensions or placement)
It’s always better to have your tools ready rather than stopping midway to search for a forgotten wrench. A little foresight prevents delays.
The Assembly Process: Step-by-Step Guide
Now that you’ve prepped, it’s time to put your trainer together. We’ll guide you through the typical assembly steps. Remember, your specific model’s instructions are your best friend here.
Building the Base and Upright Columns
The foundation of your functional trainer starts with the base. This provides stability for the entire unit. We found that securing the base properly is critical for safety.
Connecting the Base Stabilizers
Begin by attaching the horizontal stabilizers to the main base frame. These are usually heavy steel pieces. You’ll likely use large bolts and washers here.
Ensure all bolts are finger-tight first. We learned that not fully tightening yet allows for minor adjustments. This helps get everything perfectly aligned.
Mounting the Vertical Uprights
Once the base is stable, attach the tall vertical uprights. These columns are where the pulley systems will be later installed. They can be heavy, so be ready.
You might need a helper for this part. Lifting and holding these columns can be tricky alone. Bolt them securely to the base, again, leaving bolts slightly loose for now.
Installing the Pulley and Cable Systems
This is where your functional trainer starts to look like, well, a functional trainer! This section involves more detailed work. Don’t rush it.
Attaching the Pulley Brackets and Pulleys
Find the brackets that hold the pulleys. These typically slide into designated slots on the uprights. They connect to the weight stack or selectorized pin.
Install the pulleys onto these brackets. Ensure they spin freely. We found that checking for smooth rotation now prevents issues later on. Listen for any grating sounds.
Routing the Cables
This step can feel like threading a complicated needle. Follow your manual’s cable diagram precisely. Cables usually loop through multiple pulleys.
Many experts say to double-check the cable path against the diagram (Fitness Equipment Council). A misrouted cable won’t function correctly and can cause premature wear. Take your time here. It’s often the trickiest part.
Adding the Weight Stacks and Accessories
Your trainer is coming together! Now it’s time for the weights and finishing touches.
Inserting the Weight Plates
Carefully slide the individual weight plates onto the guide rods. These rods keep the stack aligned. Make sure the selector pin holes line up correctly.
Top each stack with the selector rod. Don’t drop the weight plates; they are heavy and can cause injury or damage. This is often the final heavy lifting task.
Securing the Top Frame and Attachments
The top frame connects the uprights and often houses the uppermost pulleys. Bolt this piece into place, ensuring it’s level.
Finally, attach any included handles, ankle straps, or other accessories. These usually clip on to the cable ends. Make sure they are easy to connect and disconnect.
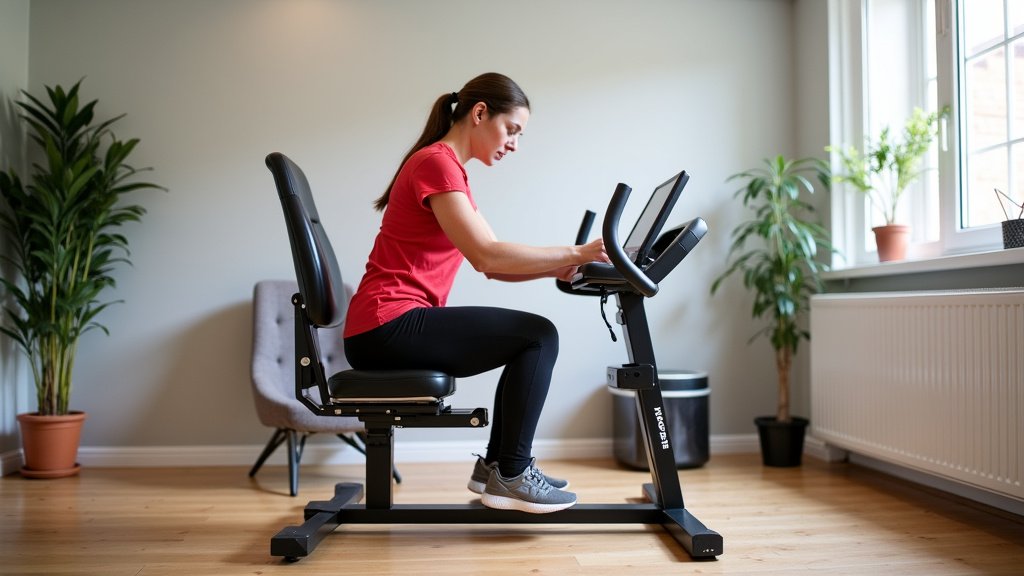
Final Steps: Safety and Placement
You’re almost done! Before you try your first set, there are a few crucial final checks. Safety is paramount with any piece of gym equipment.
Tightening All Bolts and Stability Check
Remember those bolts you left slightly loose? Now’s the time to go back and tighten every single one securely. Use your wrench to ensure everything is snug.
Don’t overtighten, though. Just make them firm. Give the entire trainer a good shake. It should feel solid and stable. Any wobbles indicate a loose connection.
Testing Cable Functionality and Safety Features
Perform a few slow, controlled pulls on the cables. Listen and watch. Do the pulleys move smoothly? Are the cables rubbing anywhere?
Check the weight selector pin. Does it insert and remove easily? Does it fully engage the chosen weight plate? We found that making these checks ensures a safe workout (Consumer Product Safety Commission).
Your Functional Trainer Assembly Checklist:
- All parts accounted for?
- Tools prepared?
- Base and uprights securely bolted?
- Pulleys properly installed and spinning freely?
- Cables routed exactly as per manual?
- All bolts fully tightened?
- Cables and weight stack operating smoothly?
Choosing the Right Location
Where will your functional trainer live? Consider floor space, ceiling height, and light. You’ll need enough room to move freely around the machine.
Ensure the floor is level. If not, some trainers have adjustable feet. We found that placing a rubber mat underneath can protect your floor and add extra stability. Now you are ready to enjoy your new functional trainer!
Conclusion
You’ve seen that assembling your functional trainer is a rewarding process, not a daunting one. By systematically following your manual and our advice, you’ve built a robust piece of home gym equipment. We found that attention to detail, especially in cable routing and bolt tightening, ensures both safety and smooth operation. Your commitment to proper setup means you’re now ready to enjoy diverse, full-body workouts. So, plug in some tunes, grab your favorite attachments, and start exploring the incredible versatility your new functional trainer offers.
Frequently Asked Questions
What if some parts are missing from the box?
First, double-check your packing list and the box itself. Sometimes smaller hardware can be tucked away. If genuinely missing, contact the manufacturer’s customer service immediately with your model number and part description; they typically ship replacements quickly.
Can I assemble a functional trainer by myself?
While some steps, like mounting heavy uprights, are much easier with two people, it’s often manageable alone with careful planning. We found that using furniture straps or bracing pieces against a wall can help stabilize components if you don’t have a helper.
How do I know if the bolts are tight enough without overtightening?
Tighten bolts until they feel firm and secure, but avoid forcing them past that point. Overtightening can strip threads or damage components. We recommend checking them again after your first few workouts, as components can settle.
What kind of maintenance does a functional trainer need after assembly?
Regular maintenance is simple. Periodically inspect all cables for fraying and pulleys for smooth rotation. Wipe down guide rods for the weight stack with a silicone-based lubricant if they become sticky. We found these small steps prolong your trainer’s life.
Is it important to anchor my functional trainer to the floor?
Most freestanding functional trainers are designed to be stable without anchoring. However, if your model includes anchor points and you plan very heavy or dynamic movements, anchoring can provide an extra layer of stability and safety. Always consult your specific manual’s recommendations.