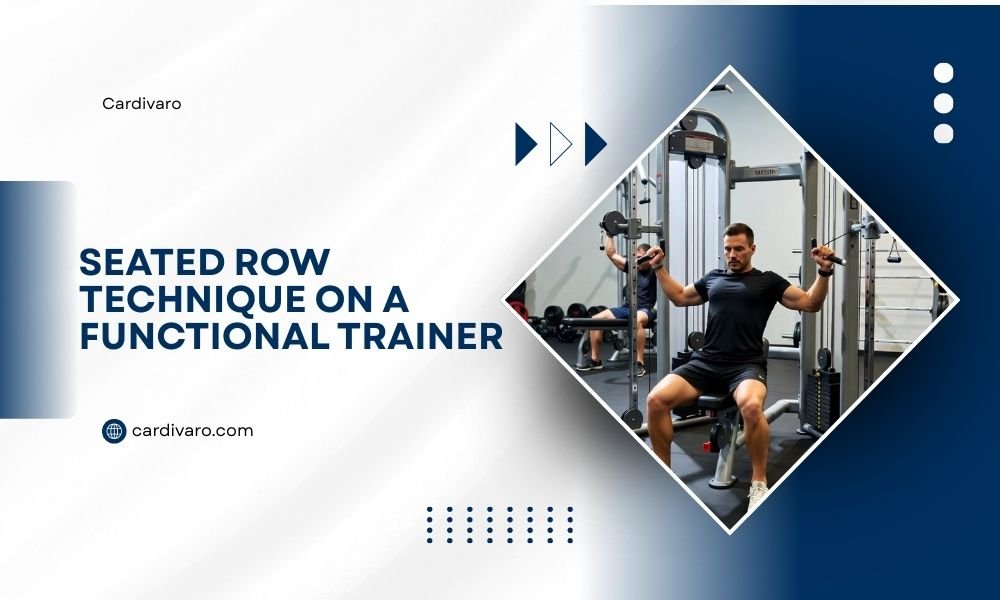
Seated row technique on a functional trainer involves sitting upright with feet braced, pulling handles toward your lower ribs while squeezing your shoulder blades together.
Keep your chest up, core tight, and control both the pulling and releasing phases for maximum back muscle development.
What Makes the Seated Row So Effective
The seated row targets your middle trapezius, rhomboids, and latissimus dorsi better than most back exercises. You get stable support from the seat, which lets you focus purely on pulling with proper form.
Functional trainers make this movement even better. The cable system provides smooth, consistent resistance throughout the entire range of motion. Plus, you can adjust the weight in small increments.
Setting Up Your Functional Trainer
Height and Position Settings
Set the cable height to match your lower chest when seated. This creates the ideal pulling angle for your middle back muscles.
Position the bench about arm’s length from the weight stack. You want slight tension in the cable when your arms are fully extended.
Choosing the Right Handle
Wide grip handles work your upper back and rear delts more. Narrow handles target your lats and middle traps.
V-bar handles offer the most natural grip position. Your wrists stay neutral, which reduces strain during heavier sets.
Perfect Seated Row Form Step by Step
Starting Position
Sit tall with your chest up and shoulders back. Plant your feet firmly on the floor or footrest. Your knees should have a slight bend.
Grab the handles with arms fully extended. Keep a small arch in your lower back. Think about sitting like you’re in a job interview.
The Pull Phase
Start the movement by pulling your shoulder blades together. Then drive your elbows back toward your ribs.
Pull the handles to your lower chest or upper stomach. Your elbows should stay close to your sides, not flared out wide.
Key Form Points During the Pull
- Squeeze your shoulder blades like you’re trying to hold a pencil between them
- Keep your torso upright – don’t lean back to cheat the weight
- Pull with your back muscles, not your arms
- Stop when your hands reach your torso
The Return Phase
Control the weight back to starting position. Don’t just let it slam back. This negative portion builds serious strength.
Let your arms extend fully, but keep tension in your back muscles. You should feel a good stretch across your lats and middle back.
Common Mistakes That Kill Your Results
Using Your Lower Back as a Lever
Rocking back and forth turns this into a momentum exercise. Your lower back does the work instead of your target muscles.
Keep your torso position locked. If you need to rock to move the weight, it’s too heavy.
Pulling Too High or Too Low
Pulling to your neck works different muscles than intended. Pulling to your stomach misses the sweet spot for middle back development.
Aim for that lower chest area every single rep. Consistency in hand position gives you consistent muscle activation.
Grip Issues
Death-gripping the handles makes your forearms give out first. Use just enough grip to control the weight.
Consider using straps for heavier sets. Your back muscles are stronger than your grip, so don’t let grip be the limiting factor.
Breathing and Timing
When to Breathe
Exhale as you pull the weight toward you. Inhale as you return to the starting position.
Some people hold their breath during the hardest part of the pull. That’s fine for heavy sets, but remember to breathe between reps.
Rep Speed and Control
Take about 2 seconds to pull the weight in. Hold for 1 second at the end position. Take 3 seconds to return the weight.
This timing keeps your muscles under tension longer. Research from the American College of Sports Medicine shows that controlled movements build more strength than fast, jerky reps.
Weight Selection and Progression
Starting Weights
Begin with a weight that feels challenging on rep 8-10 of your first set. You should be able to complete all reps with perfect form.
Most beginners start somewhere between 40-80 pounds. Don’t worry about the number – focus on feeling your back muscles work.
Adding Weight Over Time
Increase weight by 5-10 pounds when you can complete all sets with 2-3 reps left in the tank.
Functional trainers usually have 5-pound increments. This makes progression smooth and manageable.
Sets and Reps for Different Goals
| Goal | Sets | Reps | Rest |
|---|---|---|---|
| Strength | 3-4 | 4-6 | 3-4 minutes |
| Muscle Growth | 3-4 | 8-12 | 2-3 minutes |
| Endurance | 2-3 | 15-20 | 1-2 minutes |
Variations to Keep Things Interesting
Single Arm Rows
Work one side at a time to fix muscle imbalances. Your stronger side can’t help the weaker side.
Use the same form cues, but focus on keeping your torso square. Don’t rotate toward the working side.
Wide Grip Rows
Flare your elbows out more to hit your rear delts and upper traps harder. Pull to your upper chest instead of lower ribs.
High Cable Rows
Set the cable higher and pull down toward your chest. This angle targets your middle traps and rhomboids differently.
Low Cable Rows
Lower cable position hits your lats more. Pull toward your lower stomach with this variation.
Troubleshooting Your Form
If You Feel It in Your Arms More Than Your Back
Start each rep by squeezing your shoulder blades together first. This pre-activates your back muscles.
Think about pulling your elbows behind you instead of pulling the handles toward you. This mental cue shifts focus to the right muscles.
If Your Lower Back Gets Sore
Check your seat position. You might be sitting too far from the cable stack, which forces you to lean forward.
Keep your core tight throughout the movement. A weak core makes your lower back work overtime to stabilize your spine.
When to Add Seated Rows to Your Workout
In a Back-Focused Session
Do seated rows after pull-ups or lat pulldowns but before smaller isolation exercises. Your form stays better when you’re not completely exhausted.
As Part of a Full Body Routine
Pair seated rows with a pushing exercise like bench press or shoulder press. This balances the opposing muscle groups.
Conclusion
Mastering the seated row on a functional trainer builds a strong, balanced back while improving your posture. Focus on perfect form over heavy weight, and you’ll see steady progress in both strength and muscle development. Remember to squeeze those shoulder blades, keep your chest up, and control every single rep. Your back muscles will thank you for the attention to detail.
How often should I do seated rows per week?
Aim for 2-3 times per week with at least one day of rest between sessions. This gives your muscles time to recover and grow stronger.
Can I do seated rows if I have lower back problems?
The seated position actually supports your spine better than bent-over rows. Start with lighter weights and focus on maintaining that small arch in your lower back throughout the movement.
What’s better – seated rows or bent-over barbell rows?
Seated rows offer more stability and let you focus purely on back muscle activation. Bent-over rows engage more stabilizer muscles but require better core strength and hip mobility.
Should the cable be perfectly horizontal when I pull?
A slight upward angle (cable attached slightly below chest level) actually works better for most people. This angle targets the middle traps and rhomboids more effectively than a perfectly horizontal pull.
How do I know if I’m using the right weight?
You should feel your back muscles working hard by rep 8-10, but still maintain perfect form through your entire set. If your form breaks down or you need to rock your torso, reduce the weight.