How to Restring a Cable Machine Cable?
On this page (9 sections)
Restringing a cable machine cable yourself is absolutely doable and can save you a good chunk of money. You can complete this task with common tools and a bit of patience by following a clear process to ensure safety and proper function of your gym equipment. Restringing a cable machine is a practical DIY fix that many people overlook.
When a cable on your weight machine starts to fray or break, it’s more than just an annoyance; it’s a safety concern. Neglecting this can lead to sudden equipment failure mid-lift. Many gym owners and home fitness enthusiasts have successfully tackled this repair, finding it a satisfying way to maintain their gear. It’s a task that requires attention to detail but is well within reach for most.
- Cable machines need regular checks.
- A frayed cable is a major safety risk.
- DIY restringing saves money and time.
- Proper tools and a step-by-step guide are key.
Ready to get your machine back in top shape? Let’s walk through exactly how to restring your cable machine cable, step by step.
Replacing Your Cable Machine’s Cable: A Step-by-Step Guide
So, your cable machine’s wire is looking a little rough? Maybe it’s frayed, kinked, or even snapped. Don’t worry, you’re not alone! Replacing a cable on your weight machine is a common maintenance task. It might seem intimidating at first, but with the right guidance, you can get your machine back in working order. This process is definitely within reach for most DIY-ers.
Why Replacing a Cable Matters
Safety First!
The most important reason to replace a worn cable is safety. A frayed or damaged cable can snap unexpectedly during a lift. This can lead to serious injury. Think of it like the tires on your car – you wouldn’t drive on bald tires, right? The same logic applies here. Many sources, like the Consumer Product Safety Commission, highlight equipment maintenance as key to preventing accidents.
Performance and Longevity
A damaged cable doesn’t just look bad; it affects how your machine performs. It might snag or feel rough, making your workouts less smooth. Replacing it ensures your machine operates as intended and extends its overall lifespan. Keeping your equipment in good shape means it will serve you well for years to come.
Gathering Your Supplies
Before you start, make sure you have everything you need. This will prevent frustrating stops and starts. Having the right tools makes the job much easier and safer.
Essential Tools You’ll Need
- Replacement Cable: Make sure it’s the correct length and type for your specific machine.
- Wire Cutters or Bolt Cutters: For trimming excess cable.
- Pliers: Needle-nose pliers are often helpful for gripping small parts.
- Wrench Set: To loosen and tighten bolts or fasteners.
- Gloves: To protect your hands from sharp wires.
- Safety Glasses: Always protect your eyes.
- Tape Measure: To confirm the length of your old cable.
- Marker or Pen: For labeling parts if needed.
Choosing the Right Replacement Cable
Getting the correct cable is critical. Your machine’s manual should specify the type and length needed. If you don’t have the manual, carefully measure your old cable before removing it. It’s better to be a little long than too short. Cables are usually made of steel and coated in nylon or plastic. Ensure the ends are compatible with your machine’s pulleys and attachment points. Websites that sell fitness equipment parts often have detailed guides to help you choose.
The Step-by-Step Process: Removing the Old Cable
Now, let’s get to the actual work. We’ll start by carefully removing the old cable. Take your time and pay attention to how everything is connected.
Step 1: Secure the Weights
First, ensure the weight stack is stable. If your machine has a pin, insert it into the top plate of the weight stack. This prevents the weights from shifting or falling. You want to make sure nothing moves unexpectedly while you’re working.
Step 2: Detach from the Top Pulley
Locate the cable where it connects to the top pulley or the highest point on your machine. There’s usually a small attachment point with a bolt or clip. Carefully remove this connection. You might need a wrench for this. Keep track of any washers or nuts.
Step 3: Detach from the Weight Stack End
Next, go to the weight stack end of the cable. It’s typically attached to a pin or a plate that moves up and down with the weights. This connection might involve a screw, clamp, or a loop that goes around a pin. Loosen or remove this fastener. Make sure you have a place to put all the small parts so they don’t get lost.
Step 4: Detach from the Handle/Accessory Attachment Point
Finally, find where the handle or accessory attaches to the cable. This is usually at the very end of the cable run. It might be a clip, a carabiner, or a specific fitting. Remove the handle or accessory from the cable. Then, detach the cable itself from whatever point it’s secured to at this end. This might be a small eye bolt or a similar connector.
Step 5: Carefully Remove the Old Cable
With all connection points released, you should now be able to carefully pull the old cable off the machine. Follow its path through the pulleys. Note exactly how it was routed. You can gently unwind it from the pulleys as you pull it out. It’s helpful to have a second person to help guide it, especially if there are many pulleys.
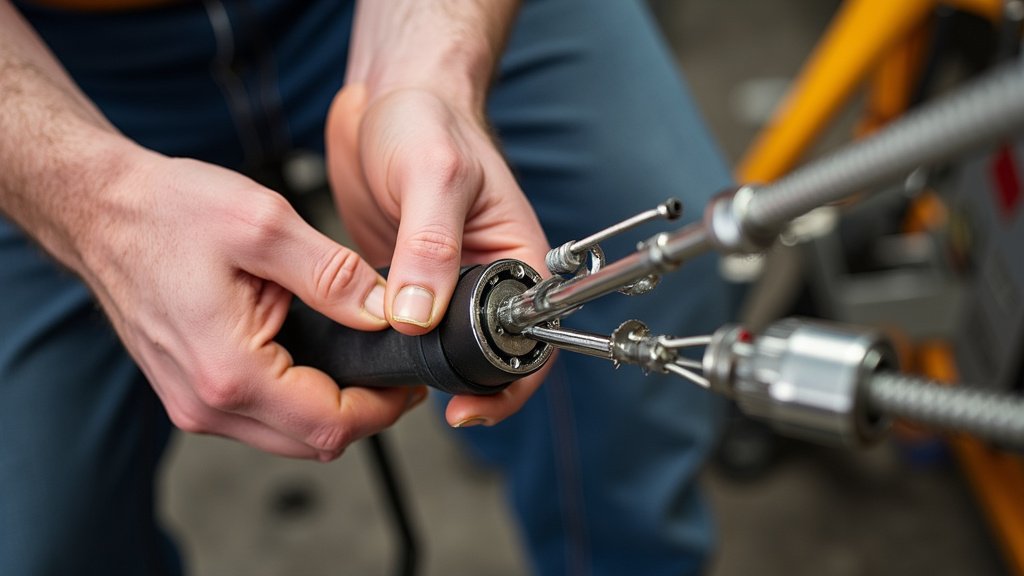
Installing the New Cable
Now for the rewarding part: putting on the new cable! This is similar to removal, but in reverse. Precision is key here.
Step 1: Thread the New Cable
Start by threading the new cable through the pulleys. Ensure it follows the exact same path as the old one. This is where your observation during removal really pays off. Make sure the cable sits properly in the groove of each pulley. A cable out of place can cause wear on the pulley and the cable itself.
Step 2: Attach to the Handle/Accessory Point
Once the cable is routed, attach it to the handle or accessory connection point. Secure it firmly. Double-check that the attachment is tight and won’t come loose during use. This is the end you’ll be holding onto, so it needs to be solid.
Step 3: Attach to the Weight Stack End
Connect the other end of the cable to the weight stack mechanism. Again, ensure this connection is secure. This is the point that lifts the weights, so it must be strong and reliable. Make sure any clamps are tightened properly, and screws are snug.
Step 4: Attach to the Top Pulley or Anchor Point
Finally, connect the cable to the top pulley or anchor point. This completes the main run of the cable. Tighten any bolts or fasteners securely. You don’t want this coming undone, as it’s a major stress point.
Testing and Final Checks
You’re almost there! A few final checks will ensure everything is working correctly and safely.
Step 1: Test with Light Weight
Before loading up heavy, perform a test lift. Set the weight stack to a very light weight, say 5 or 10 pounds. Slowly lift and lower the handle several times. Listen for any unusual noises and watch the cable’s path. Make sure it runs smoothly through all pulleys.
Step 2: Gradually Increase Weight
If the light test goes well, gradually increase the weight. Repeat the lifting and lowering motion. Check for any signs of strain, fraying on the new cable, or issues with the pulleys. Continue increasing the weight until you reach your typical workout resistance. This progressive testing is a smart way to confirm the cable’s integrity.
Step 3: Inspect All Connections
Do a final visual inspection of all connection points. Ensure every bolt is tight, every clamp is secure, and the cable is properly seated in all pulley grooves. Any loose connection can become a major problem. Many fitness equipment maintenance guides recommend this final thorough check (American Council on Exercise).
Step 4: Trim Excess Cable (If Necessary)
If there’s a significant amount of excess cable sticking out after securing it, you may want to trim it. Use your wire cutters to snip off the extra length. Be careful not to cut too close to the secured end. Leave a little bit of slack to be safe. A bit of excess cable is better than not enough!
When to Call a Professional
While most cable replacements are manageable DIY projects, there are times when it’s best to call in an expert. If your machine has a particularly complex pulley system, or if you’re uncomfortable at any stage, don’t hesitate to seek professional help. It’s always better to be safe than sorry. For commercial gyms, regular professional servicing is often recommended. Fitness equipment technicians have specialized tools and experience that can ensure the job is done perfectly.
Quick Checklist for Your Repair
- Confirm you have the correct replacement cable.
- Ensure all necessary tools are at hand.
- Secure the weight stack before starting.
- Route the new cable exactly like the old one.
- Test with light weight before increasing the load.
- Double-check all connections for tightness.
Conclusion
You’ve now got a clear roadmap to tackle replacing your cable machine’s cable. By gathering the right supplies and following these step-by-step instructions, you can safely restore your equipment. Remember, a well-maintained machine is key to effective and injury-free workouts. Don’t let a frayed cable hold you back from your fitness goals. Take the next step and get your machine back in prime condition today!
Frequently Asked Questions
How do I know if my cable machine cable needs replacing?
You’ll want to inspect your cable regularly for signs of wear. Look for any fraying, broken strands, kinks, or excessive stretching. If you notice any of these issues, or if the cable feels rough when you use it, it’s time for a replacement to ensure your safety.
Can I use any type of wire for my cable machine?
No, it’s essential to use a cable specifically designed for weight machines. These cables are made from high-tensile steel and are coated for durability and smooth operation. Always check your machine’s manual or measure your old cable to get the correct type and length.
What happens if I don’t replace a worn cable?
Ignoring a worn cable is a serious safety hazard. The cable could snap unexpectedly during an exercise, leading to sudden loss of resistance and potentially causing injury. It also compromises the smooth performance of your machine.
Is it difficult to route the new cable through all the pulleys?
Routing the new cable can be the trickiest part, but it’s manageable. Taking clear notes or photos of how the old cable was threaded before removal is extremely helpful. Having a second person to help guide the cable can make the process much smoother.
How tight should the new cable be when I install it?
The new cable should be snug, but not overly tight. It needs to be secure enough not to slip on the pulleys and strong enough to hold the weight. After installation and testing, ensure all connection points are firmly tightened without overtightening, which could damage the hardware.


