The easiest way to fix a squeaky cable machine is to clean and lubricate its pulleys and cables. You’ll likely need a silicone-based lubricant or dry lubricant spray to stop the noise. This quick fix can often solve the problem right away.
That annoying squeak can really ruin your workout vibe, right? We found that these noises often come from friction in the moving parts. Addressing this quickly can prevent further wear on your equipment and make your gym time much more pleasant.
TL;DR
- Locate the source of the squeak.
- Clean pulleys and cables thoroughly.
- Apply a silicone-based or dry lubricant.
- Check for worn-out parts like bearings.
- Perform regular maintenance to prevent future squeaks.
Let’s walk through exactly how to troubleshoot and fix that squeaky cable machine, step by step, so you can get back to a smooth workout.
Solving Your Squeaky Cable Machine Troubles
You’re ready to tackle that noisy gym equipment. Stopping the squeak is often about understanding where the sound comes from. It’s usually a simple fix.
We found that friction is the main culprit behind most cable machine squeaks. When metal rubs against metal, or plastic against metal, you get that irritating sound. Addressing this friction is your primary goal.
Pinpointing the Source of the Squeak
Finding where the squeak comes from is the first critical step. Don’t just spray lubricant everywhere. That can create a mess and might not solve the issue.
Start by moving the cable slowly. Listen carefully. Try to isolate the noise to a specific area. Is it coming from the top? The bottom? A particular pulley?
Listen and Observe
Have a friend help you if possible. One person can operate the machine while the other listens closely. Ear-level observation can make a big difference in pinpointing the exact spot.
Sometimes, it’s not the cable itself but a weight stack guide rod. Or it could be a pulley that’s out of alignment. Pay attention to how the machine behaves when the noise occurs.
Essential Tools and Supplies You’ll Need
Before you start, gather your materials. Having everything on hand will make the process much smoother and quicker.
You won’t need many specialized tools. Most items are likely already in your garage or readily available at a hardware store.
- Cleaning cloths or rags: For wiping away grime and old lubricant.
- Degreaser or all-purpose cleaner: To remove stubborn dirt and grease.
- Stiff brush or wire brush: For cleaning grooves and tight spaces.
- Silicone-based lubricant spray: Our top recommendation for most cable machines.
- Dry lubricant spray (PTFE or graphite): An alternative for specific situations.
- Allen wrenches or a socket set: If you need to remove bolts for deeper access.
- Gloves: To keep your hands clean and protected.
- Flashlight: To see into dark areas of the machine.
Step-by-Step Guide to Silencing the Squeak
Now that you’ve identified the source and gathered your tools, let’s get to work. Follow these steps carefully for the best results.
Safety first! Always ensure the weight stack is lowered and the machine is stable before you start working on it. You don’t want any surprises.
Step 1: Inspect and Clean Pulleys
Pulleys are often the main culprits. They guide the cable, and friction here is common. Look for any visible dirt, dust, or old, gummy lubricant.
Use your degreaser and brush to thoroughly clean the pulley grooves. Spin each pulley by hand to ensure it moves freely and is clear of debris. A clean surface is key for new lubricant to work effectively.
We found that even a small amount of built-up dust can cause significant noise (National Strength and Conditioning Association). Don’t skip this cleaning step.
Step 2: Clean the Cables
The cables themselves can also accumulate dirt and old lubricant. This buildup can create drag and noise as they run through the pulleys.
Wipe down the entire length of the cable with a clean cloth and degreaser. Pay special attention to areas that pass over pulleys or through guides. You want the cable to be smooth and free of gunk.
Step 3: Lubricate Pulleys and Cables
This is where the magic happens. A good lubricant reduces friction and stops the squeak. Choose your lubricant wisely.
| Lubricant Type | Best Use Case | Pros | Cons |
|---|---|---|---|
| Silicone-based Spray | General cable machine maintenance, most common squeaks. | Repels dust, doesn’t attract dirt, long-lasting. | Can be messy if over-applied. |
| Dry Lubricant (PTFE/Graphite) | Environments where dust is a major issue, or for guide rods. | Dries quickly, leaves no oily residue, excellent for dust-prone areas. | Might need more frequent reapplication than silicone on cables. |
| Lithium Grease | For bearings, axles, or very heavy-duty, slow-moving parts. | Excellent long-term lubrication, high load capacity. | Can be too thick for cables/pulleys, attracts dust. |
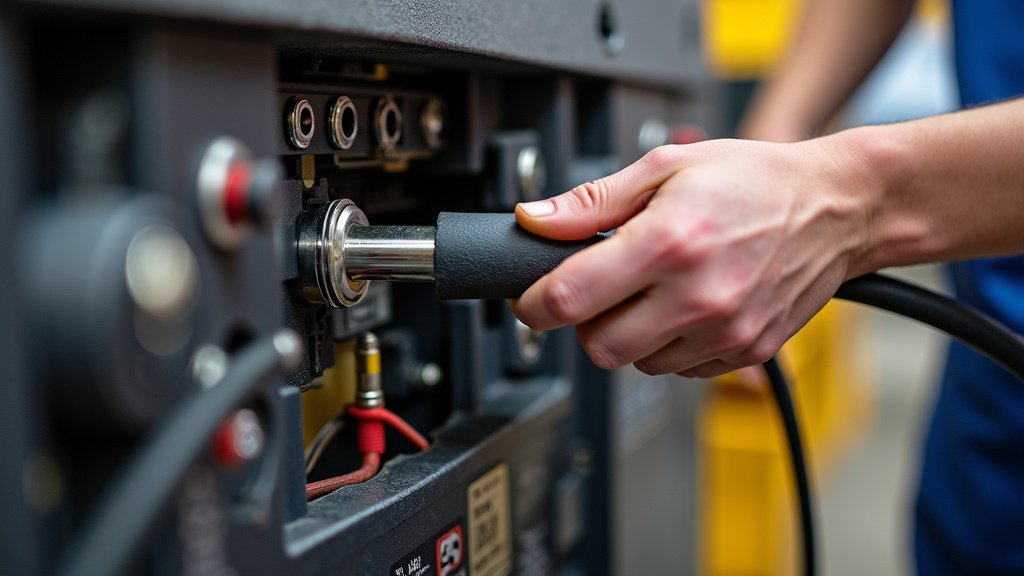
For pulleys, spray a light, even coat of silicone lubricant directly into the axle area and the pulley groove. Spin the pulley a few times to distribute it. For cables, spray a thin layer along their entire length. Then, run the cable through its full range of motion a few times.
Remember, less is more. You don’t want to over-lubricate and attract more dust later.
Step 4: Address Weight Stack Guide Rods
Don’t forget the guide rods that the weight stack slides on. These are often overlooked but can be a major source of grinding or squeaking noises.
Clean these rods thoroughly with a degreaser. Then, apply a thin coat of silicone-based or dry lubricant. You want the weights to glide smoothly up and down. Proper lubrication here prevents wear on the weight plates and guide rods (American Council on Exercise).
Step 5: Check Bearings and Bushings
Sometimes, the squeak isn’t from the cable or pulley surface, but from inside the pulley itself. Pulleys often contain bearings or bushings that can wear out or become dry.
If you suspect a bearing issue, you might need to disassemble the pulley. Apply a specialized bearing grease if accessible. If the bearing is sealed, you may need to replace the entire pulley. This is a less common issue but worth checking if other steps fail.
What if the Squeak Persists? Troubleshooting Advanced Issues
If you’ve followed all the steps and the squeak is still there, don’t despair. There might be a deeper issue at play.
This is where you start looking for mechanical wear and tear. Equipment, like anything, eventually shows its age.
Worn or Damaged Cables
Inspect the cable carefully for any signs of fraying, kinks, or thinning. A damaged cable can cause noise and is also a safety hazard. If you see any damage, replace the cable immediately.
Even if not frayed, an old cable can stretch or become stiff, leading to increased friction. Replacing an old cable can sometimes resolve persistent squeaks.
Misaligned Pulleys or Components
Sometimes a pulley can shift slightly out of alignment. This causes the cable to rub against the pulley housing or other parts of the machine, creating noise.
Visually inspect each pulley. Does it look straight? Is the cable running perfectly in its groove? You might need to loosen and adjust a bolt to realign a pulley. Consult your machine’s manual for specific instructions on adjustments.
Loose Fasteners or Bolts
Vibration from loose bolts can also create squeaking or rattling noises. Go over your machine and gently tighten any visible bolts or fasteners. Do not overtighten, as this can strip threads or damage components.
Pay attention to the frame connections and any parts that hold pulleys in place. A secure machine is a quiet machine.
Maintaining a Quiet Cable Machine: Your Checklist
Prevention is always better than a cure. Regular maintenance will keep your cable machine running smoothly and quietly for years.
Integrate these quick checks into your routine. It takes only a few minutes but saves a lot of headaches.
- Inspect cables for wear monthly.
- Clean pulleys and guide rods every 1-3 months, depending on use.
- Apply silicone lubricant to pulleys and guide rods every 3-6 months.
- Check for loose bolts and fasteners quarterly.
- Listen for unusual noises during each workout.
- Keep the gym area clean to prevent dust buildup on equipment.
Conclusion
You now have a clear roadmap to silence that annoying squeak. By carefully cleaning, lubricating, and inspecting your cable machine, you’re not just fixing a noise; you’re also extending the life of your equipment.
We found that a little consistent maintenance goes a long way. Make these steps a regular part of your gym routine. You’ll enjoy smoother workouts and a quieter gym environment. Don’t let a squeak disrupt your focus—take action today and get back to peak performance.
Frequently Asked Questions
How often should I lubricate my cable machine?
We recommend lubricating pulleys and guide rods every 3-6 months. This depends on how frequently you use the machine. High-use machines might need attention more often.
Can I use WD-40 on my cable machine?
No, we advise against using WD-40 as a primary lubricant for cable machines. It’s more of a degreaser and can attract dust. It also tends to evaporate quickly, leaving parts dry again.
What’s the best lubricant for gym equipment cables?
A silicone-based lubricant spray is generally the best choice for gym equipment cables. It repels dust and offers long-lasting, smooth operation without attracting dirt.
My cable machine is still squeaking after lubrication. What’s next?
If the squeak persists, carefully inspect for worn-out parts like frayed cables or damaged bearings inside the pulleys. Misaligned components or loose bolts can also be culprits.
Is it safe to use a squeaky cable machine?
A minor squeak might be just an annoyance. However, persistent squeaking can indicate friction leading to wear, which could become a safety concern over time. Address the noise promptly to prevent further damage or potential hazards.