
To attach cable handles, simply select the correct handle for your exercise and connect it to the carabiner clip on the cable machine. Make sure the carabiner is securely closed. This ensures a safe and effective workout, whether you’re targeting biceps, triceps, or rows.
You might
Connecting Your Cable Handles Like a Pro
Connecting your cable handles is straightforward. You’ll quickly get the hang of it, allowing you to focus on your workout.
Understanding Cable Machine Components
Before you attach a handle, it helps to know the main parts of a cable machine. This knowledge makes the process smoother and safer.
- Cable: This is the actual wire that runs through the machine’s pulleys. It carries the weight.
- Pulley System: These wheels guide the cable. They change the direction of the force.
- Weight Stack: The plates you select determine the resistance. This is where the challenge comes from.
- Carabiner Clip: This is the metal clip at the end of the cable. It’s your connection point for handles.
Think of the carabiner as a gate. You open it, slide in the handle, and then close the gate firmly. Simple, right?
Choosing the Right Cable Handle for Your Exercise
Not all exercises use the same handle. Selecting the correct one is important for comfort and effectiveness. We’ve found that using the right handle can greatly improve your form and target the desired muscles more directly.
| Handle Type | Common Uses | Why Choose It? |
|---|---|---|
| Single D-Handle | Bicep curls, tricep pushdowns, single-arm rows, lateral raises | Offers a natural grip, good for isolation exercises. |
| Rope Handle | Tricep pushdowns, face pulls, hammer curls | Allows for external rotation and a more varied grip. |
| Straight Bar | Bicep curls, tricep pushdowns, cable rows (seated) | Provides a fixed, stable grip; good for heavy lifting. |
| Lat Pulldown Bar | Lat pulldowns, seated cable rows (wide grip) | Wider grip for targeting back muscles effectively. |
Consider the muscles you want to work. For example, a single D-handle is perfect for targeting one arm at a time, like during bicep curls. A rope handle, however, allows for more rotation in moves like tricep pushdowns (American Council on Exercise).
The Step-by-Step Process for Attaching Handles
Attaching a cable handle is a quick and easy process once you know the steps. You’ll be ready to lift in no time.
Step 1: Inspecting the Machine and Handle
Before you even touch a handle, take a moment to look at your surroundings. Is the machine in good working order? Is the handle clean and free of damage? We always prioritize safety first.
- Check the Cable: Look for any fraying or damage along its length. A damaged cable is dangerous.
- Examine the Carabiner: Make sure it opens and closes smoothly. The spring mechanism should be strong.
- Inspect the Handle Itself: Is the grip intact? Are there any cracks or sharp edges?
If anything looks off, politely notify staff. A quick check can prevent accidents.
Step 2: Opening the Carabiner Clip
The carabiner is the key to connection. It has a spring-loaded gate that opens and closes. You’ll need to manipulate this gate.
Most carabiners have a small lever. You’ll push this lever inward and then pull the gate open. It should move freely. Some might have a screw-gate, which you’ll twist to unlock before opening.
Don’t force it. If it’s stiff, try gently wiggling it. It should open with minimal effort.
Step 3: Connecting the Handle to the Carabiner
With the carabiner open, you’re ready to make the connection. Find the attachment point on your chosen handle.
Slide the loop or ring of the handle through the open gate of the carabiner. Make sure it’s fully inside the clip. It should rest securely within the main body of the carabiner.
This is where the magic happens. You’re uniting the handle with the cable’s power.
Step 4: Ensuring a Secure Connection
This is perhaps the most important step for your safety. A poorly secured handle can detach during your workout. We always double-check this for peace of mind.
Once the handle is in place, release the carabiner’s gate. It should snap shut automatically, or you might need to push it closed if it’s a screw-gate type. Listen for a click or feel it seat firmly.
Gently tug on the handle. Does it feel solid? If there’s any wobble or give, repeat the process. You want zero doubt that it’s attached correctly.
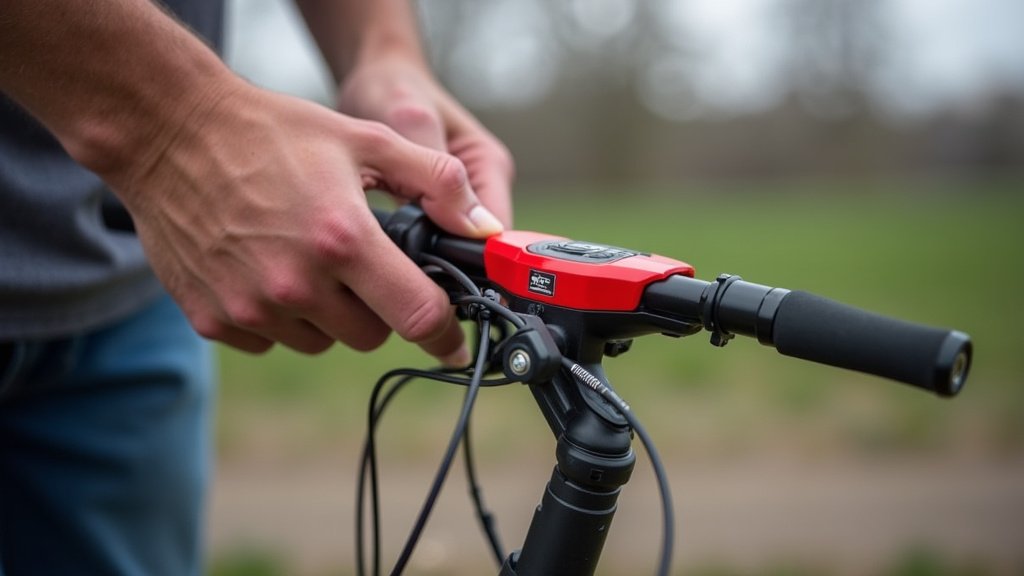
Tips for a Better Cable Workout Experience
Beyond just attaching handles, these tips can help you get the most out of your cable machine workouts. We’ve found these small habits make a big difference.
Proper Etiquette and Safety Habits
Being mindful of others and following safety protocols benefits everyone in the gym. Let’s make sure you’re a good gym citizen!
- Re-rack Your Handles: When you’re done, put the handle back on its designated hook or rack. Don’t leave it on the floor.
- Wipe Down Equipment: Use the provided wipes to clean the handles after your session. It’s polite and hygienic.
- Respect Personal Space: Be aware of others working out around you. Cable machines can take up a bit of space.
- Listen to Your Body: If a handle or exercise feels wrong, stop. There’s no shame in adjusting.
These small actions contribute to a more pleasant environment for all users. Many gyms post similar guidelines (YMCA).
Troubleshooting Common Cable Handle Issues
Sometimes, things don’t go perfectly. That’s okay! Here are a couple of common issues you might encounter and how to fix them.
When the Carabiner Gets Stuck
It can be frustrating when the clip won’t open or close. This often happens if there’s dirt or rust. Try spraying a little WD-40 or a similar lubricant to loosen it, but only if you have permission and proper cleaning supplies. Otherwise, notify gym staff. Don’t force it; you might break it.
Dealing with a Loose Handle
If your handle feels loose after attaching, it’s likely not fully seated in the carabiner, or the carabiner gate didn’t close all the way. Remove the handle, inspect both parts carefully for any obstructions, and then reattach, double-checking the closure.
Quick Checklist for Attaching Cable Handles
Before you start your set, run through this quick mental checklist. It’ll become second nature in no time!
- Did I choose the right handle for my exercise?
- Is the cable machine itself in good working order?
- Is the carabiner clip fully open?
- Is the handle securely inserted into the clip?
- Did the carabiner clip snap shut completely?
- Is the handle stable when I tug on it gently?
You’re now empowered to confidently attach any cable handle. Go get that workout!
Conclusion
You’ve now learned how simple it is to attach cable handles properly. From understanding the parts of the machine to choosing the right handle and securing it safely, you possess the knowledge needed for effective workouts. Always prioritize inspection and that crucial secure connection to prevent mishaps. By following these steps, you build confidence and ensure each exercise is safe and targets the right muscles.
Now, go put this knowledge into practice and enjoy a more versatile and worry-free cable machine experience!
Frequently Asked Questions
What if my gym’s cable machine doesn’t have a carabiner clip?
While most modern cable machines use carabiner clips, some older models might have a different attachment mechanism, like a fixed hook or a screw-pin shackle. If you’re unsure, ask a gym staff member for assistance. They can show you the correct way to attach handles to their specific equipment.
Can I use any handle with any cable machine?
Generally, yes, most cable handles are designed to be universally compatible with standard carabiner clips found on cable machines. However, some specialized machines or handles might have proprietary connectors. Always check if the handle’s attachment point fits securely within the machine’s carabiner or clip.
How do I know if a handle is truly secure?
After attaching the handle and closing the carabiner, give the handle a gentle but firm tug. It should feel completely stable with no wiggling or potential for detachment. If there’s any movement, re-open the carabiner, check for obstructions, and re-attach the handle, ensuring the clip closes fully.
Is it okay to leave a handle attached to the cable machine for the next person?
No, it’s best practice to always remove handles when you’re finished with a machine. Re-rack them in their designated spots or on the handle tree. This ensures the equipment is tidy for the next user and prevents someone from accidentally tripping over loose handles.
My hands slip on the handle during my workout. What should I do?
Slipping can be due to sweat, moisture, or a worn handle grip. We recommend using a gym towel to wipe your hands and the handle before you start. You could also consider using lifting straps or gym gloves for better grip and to protect your hands.


